
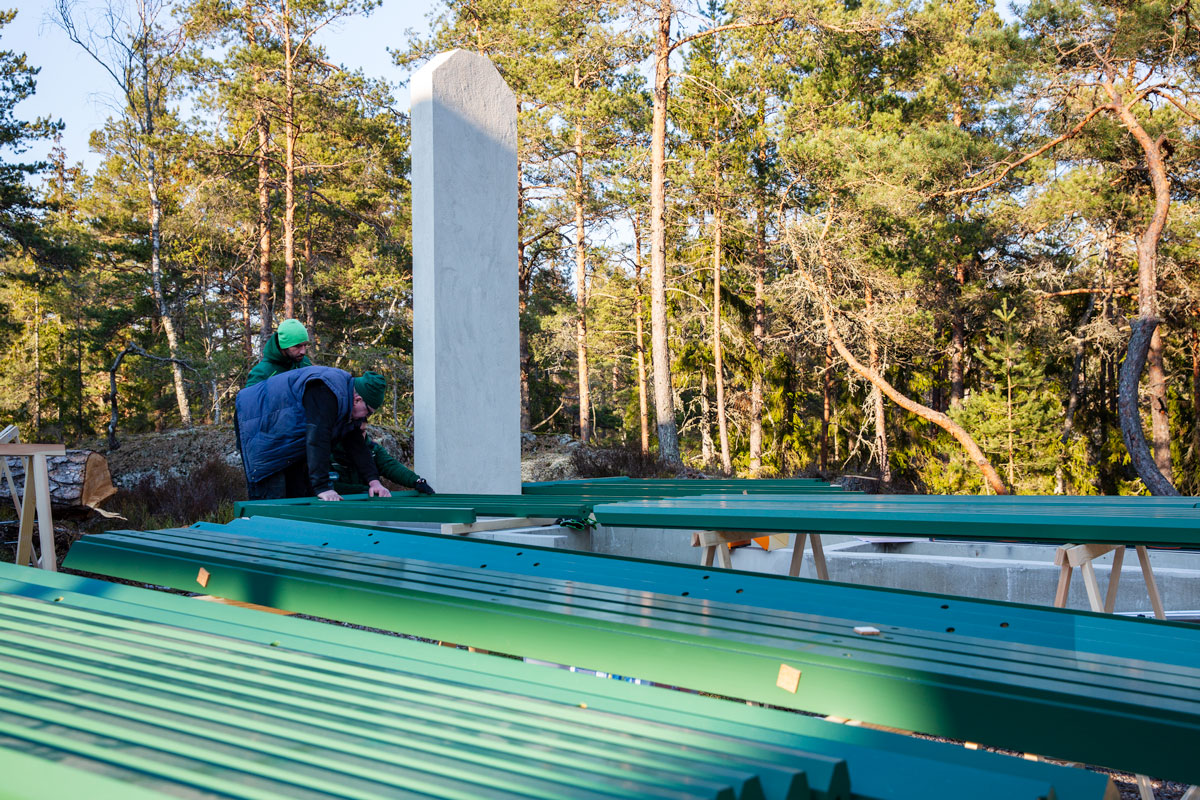
A greenhouse is being built

You can also choose not to cast a whole base plate and instead make a sole, from which the base is cast or built up. In a greenhouse that stands on a sole, you have contact with the underlying soil inside the greenhouse, and perhaps the most common is to put gravel or some form of paving stone inside the greenhouse. With a cast plate, there are more options for floors.
In this greenhouse, it is prepared with a narrow growing bed along one long side and wider beds on the opposite side. This will accommodate a lot of growing. However, there is a large area left in the center of the greenhouse, where you can furnish it with seating furniture - tables, chairs or lounge furniture to chill in. You can also roll out a couple of yoga mats or set up a carpentry table if you would like to do so. The possibilities are many.
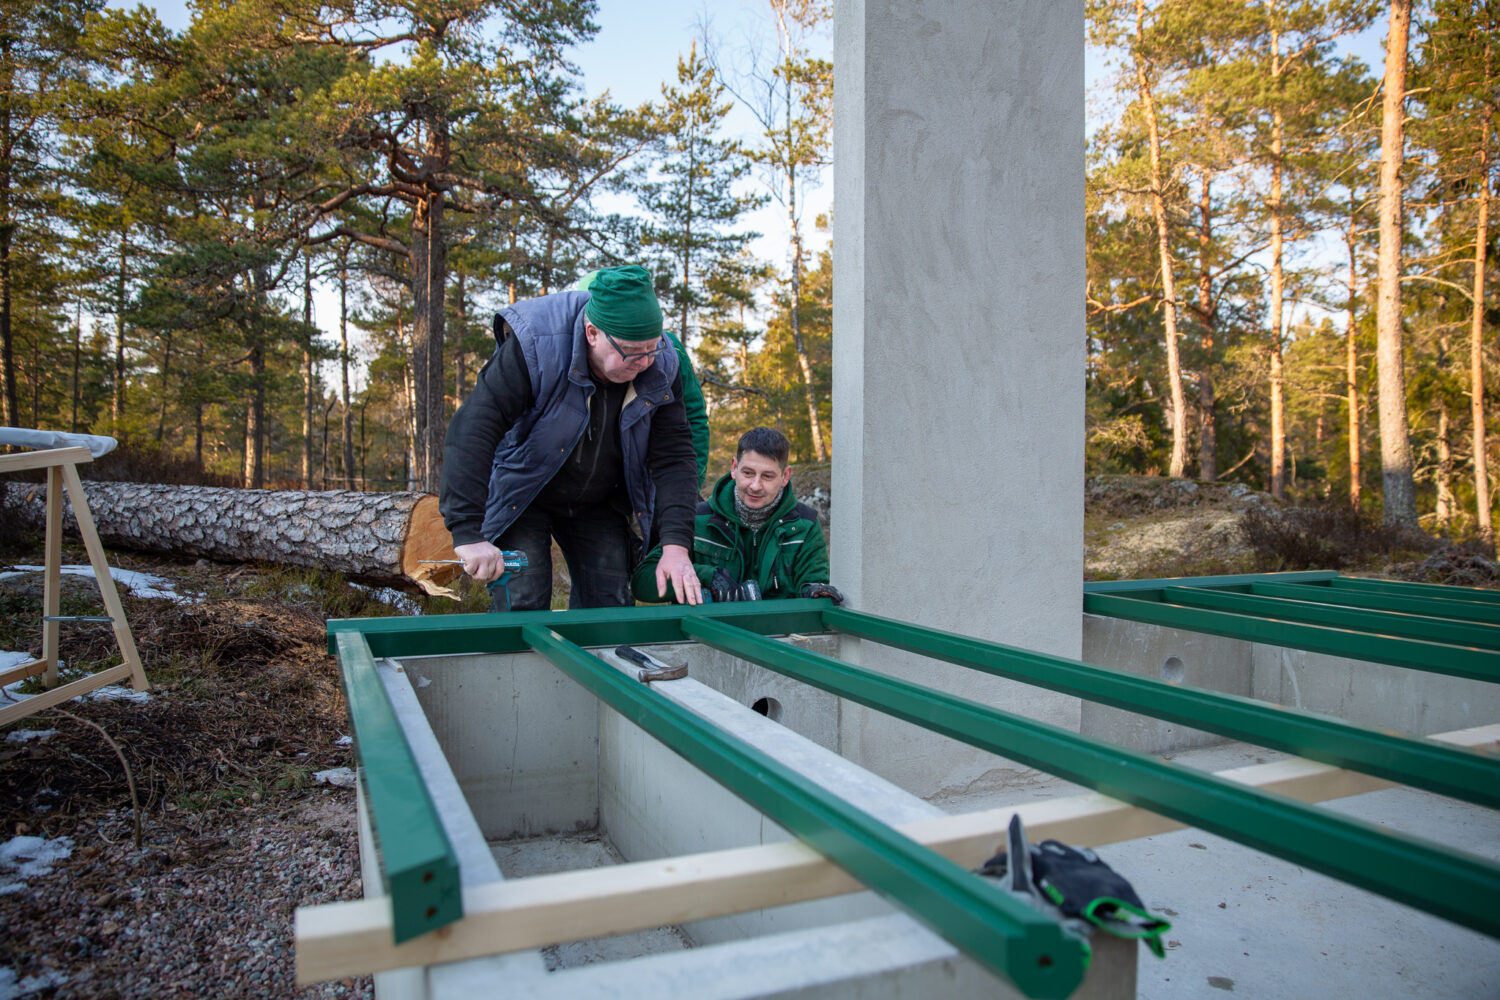
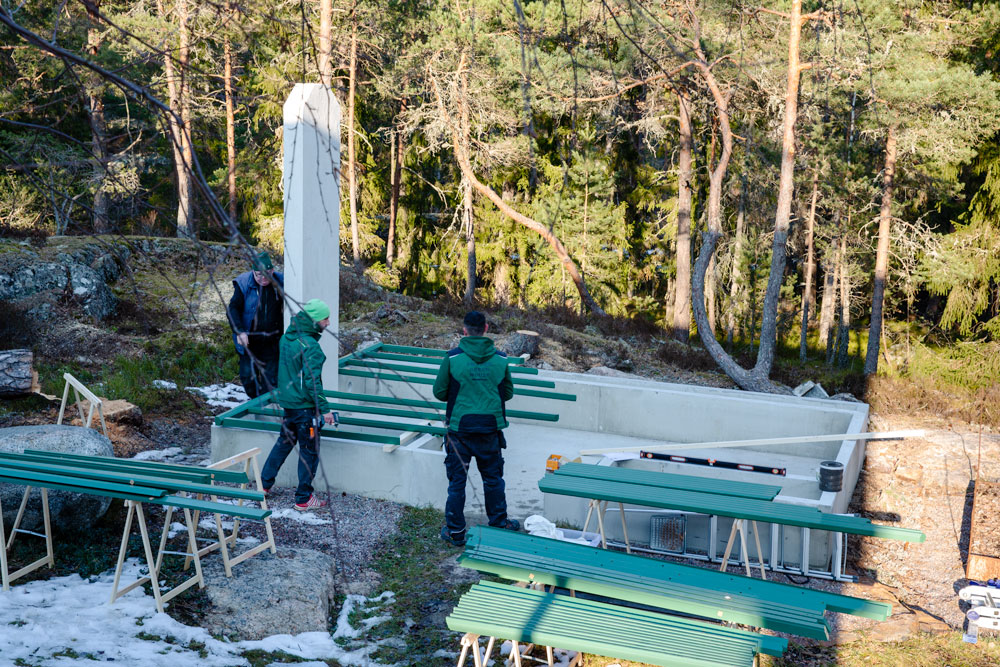
For construction to go smoothly, plenty of space is needed around the greenhouse to lay out all the parts and assemble the side pieces before they are erected on the foundation.
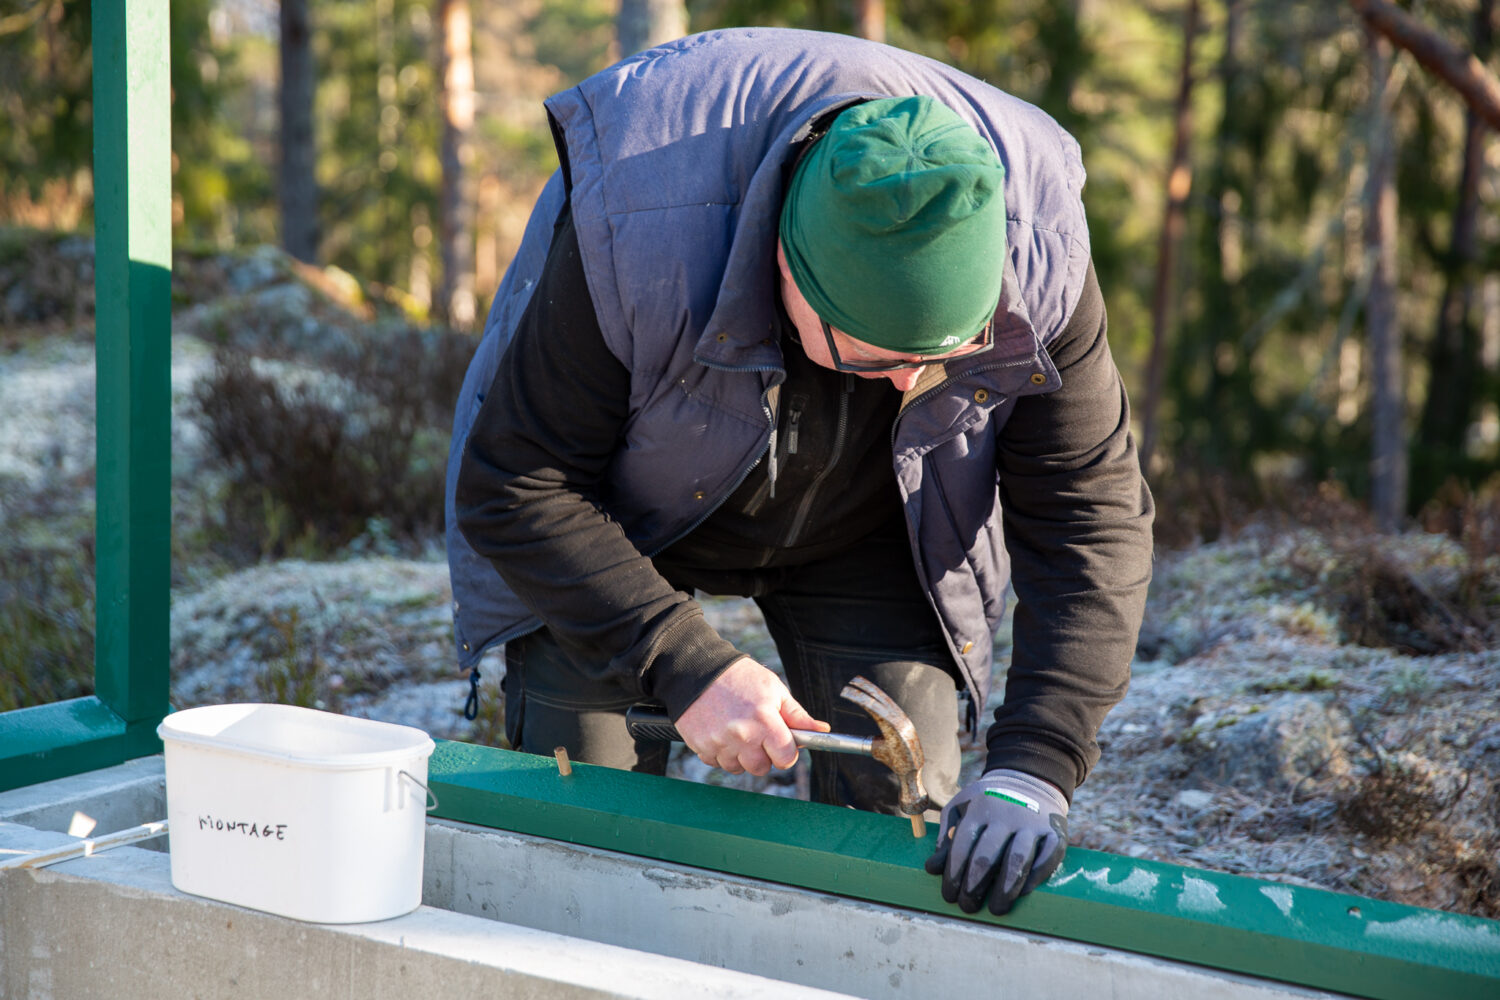
All joists and sills are built together with wooden dowels, which are inserted into pre-drilled holes. It is advisable to place a strip of asphalt board between the sill and the wall. The sill is screwed into the wall with strong screws.
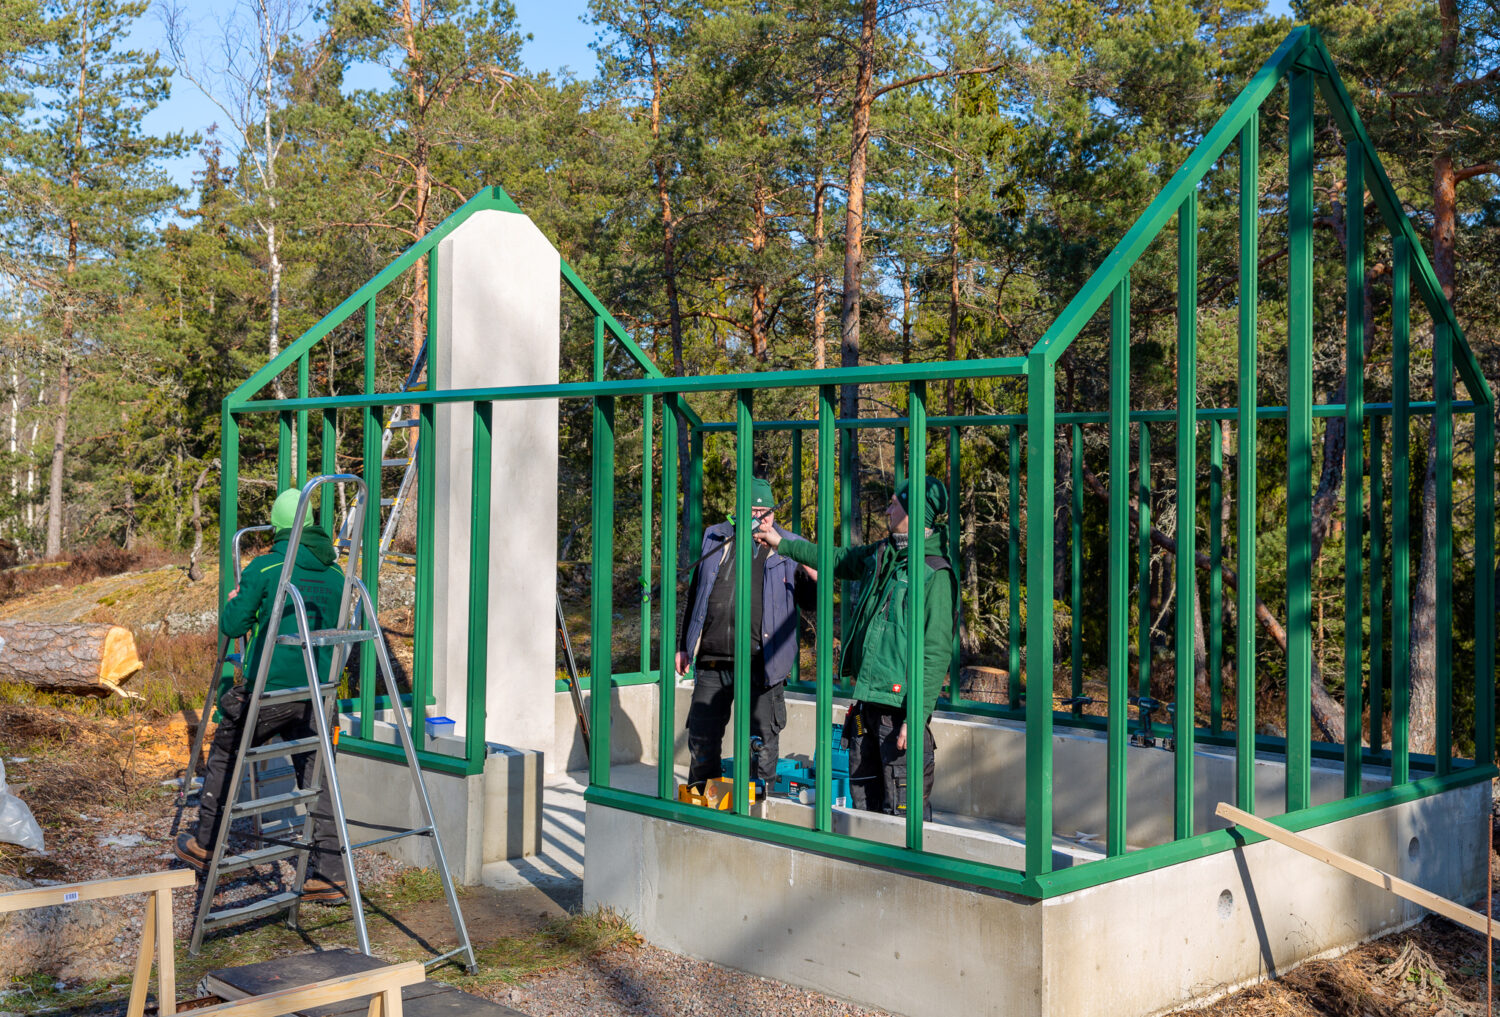
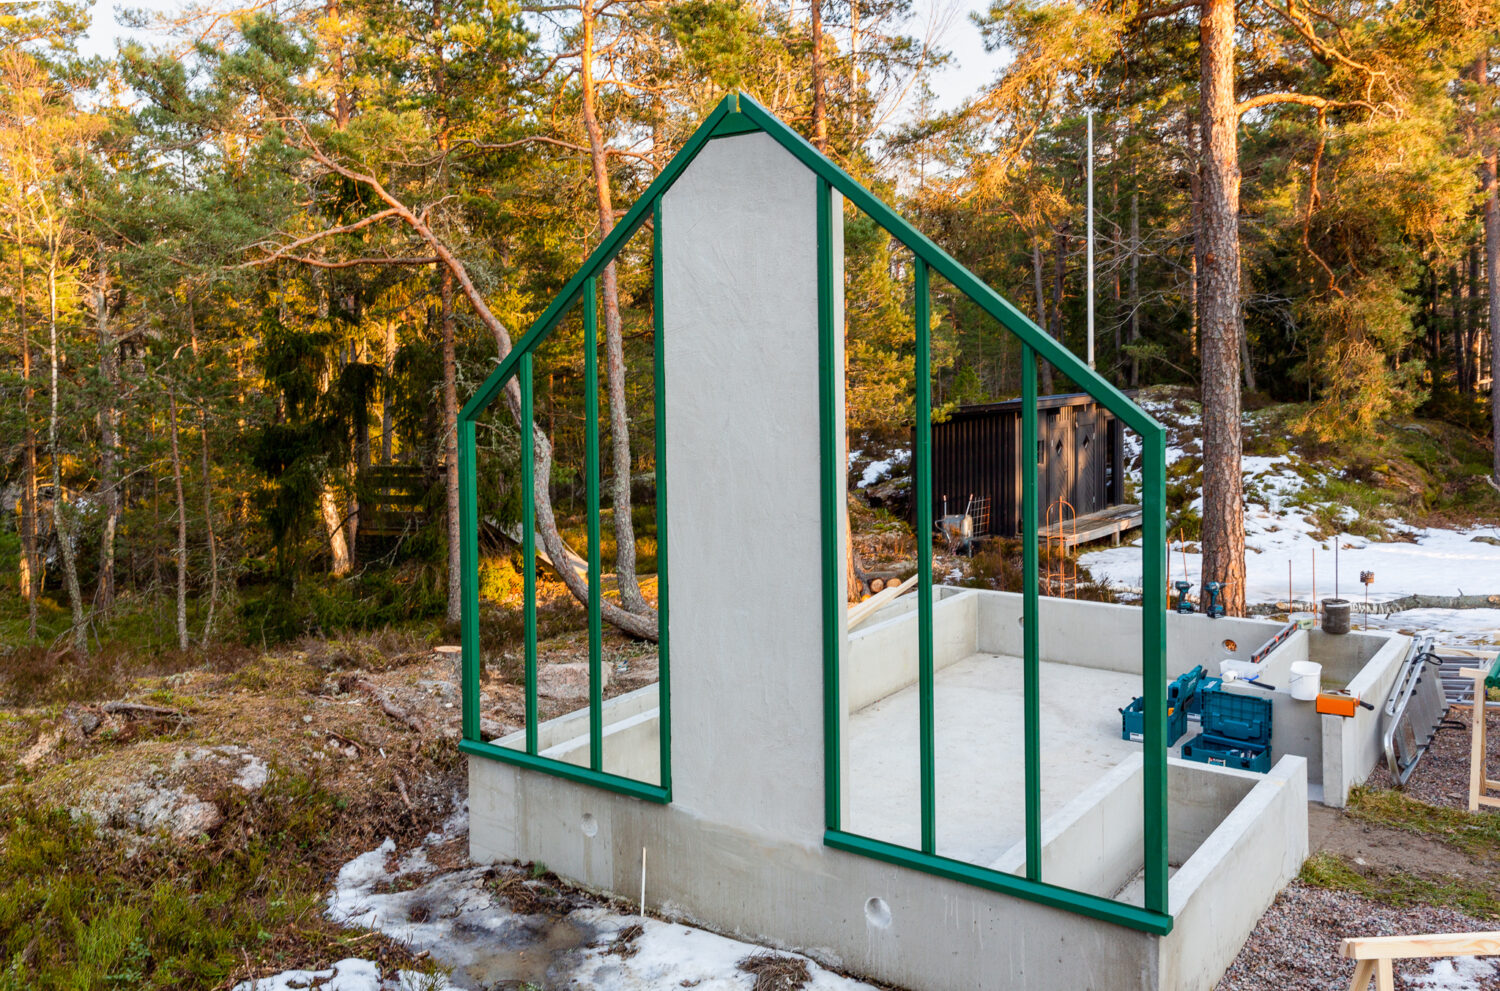
That's it! Now it's starting to look like a small house. Our experienced construction team, who specialize in building our greenhouses, makes it smooth and easy. In this case, the foundation was perfectly made according to the ground plan that was delivered and then the work flows without problems.
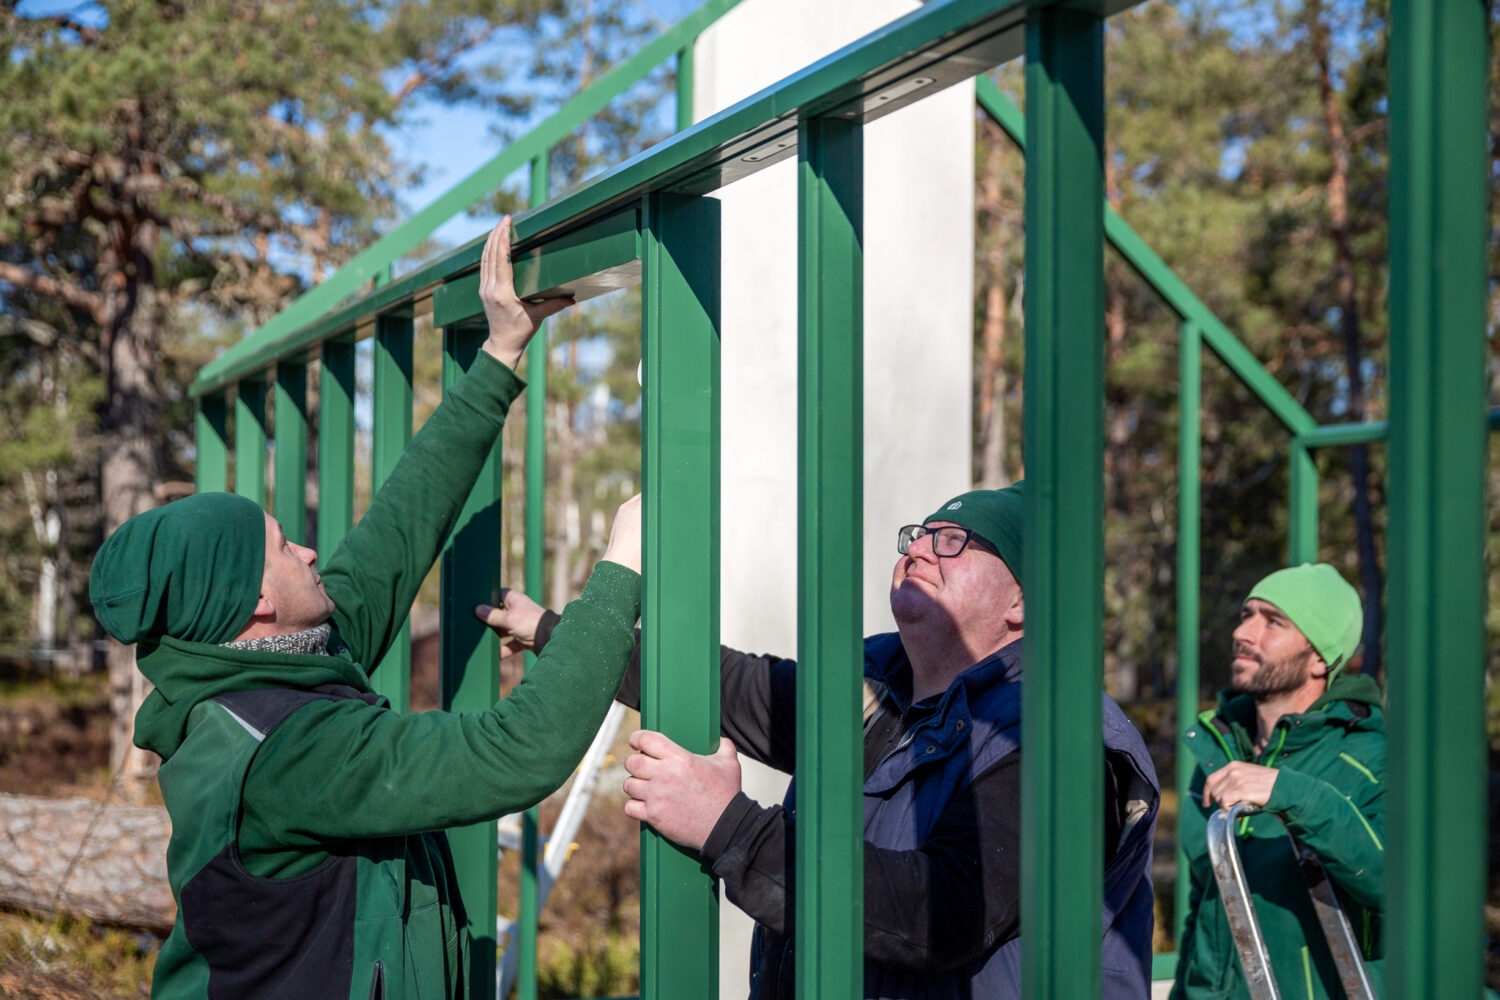
The door frame can now be installed. It stabilizes the long side a little more.
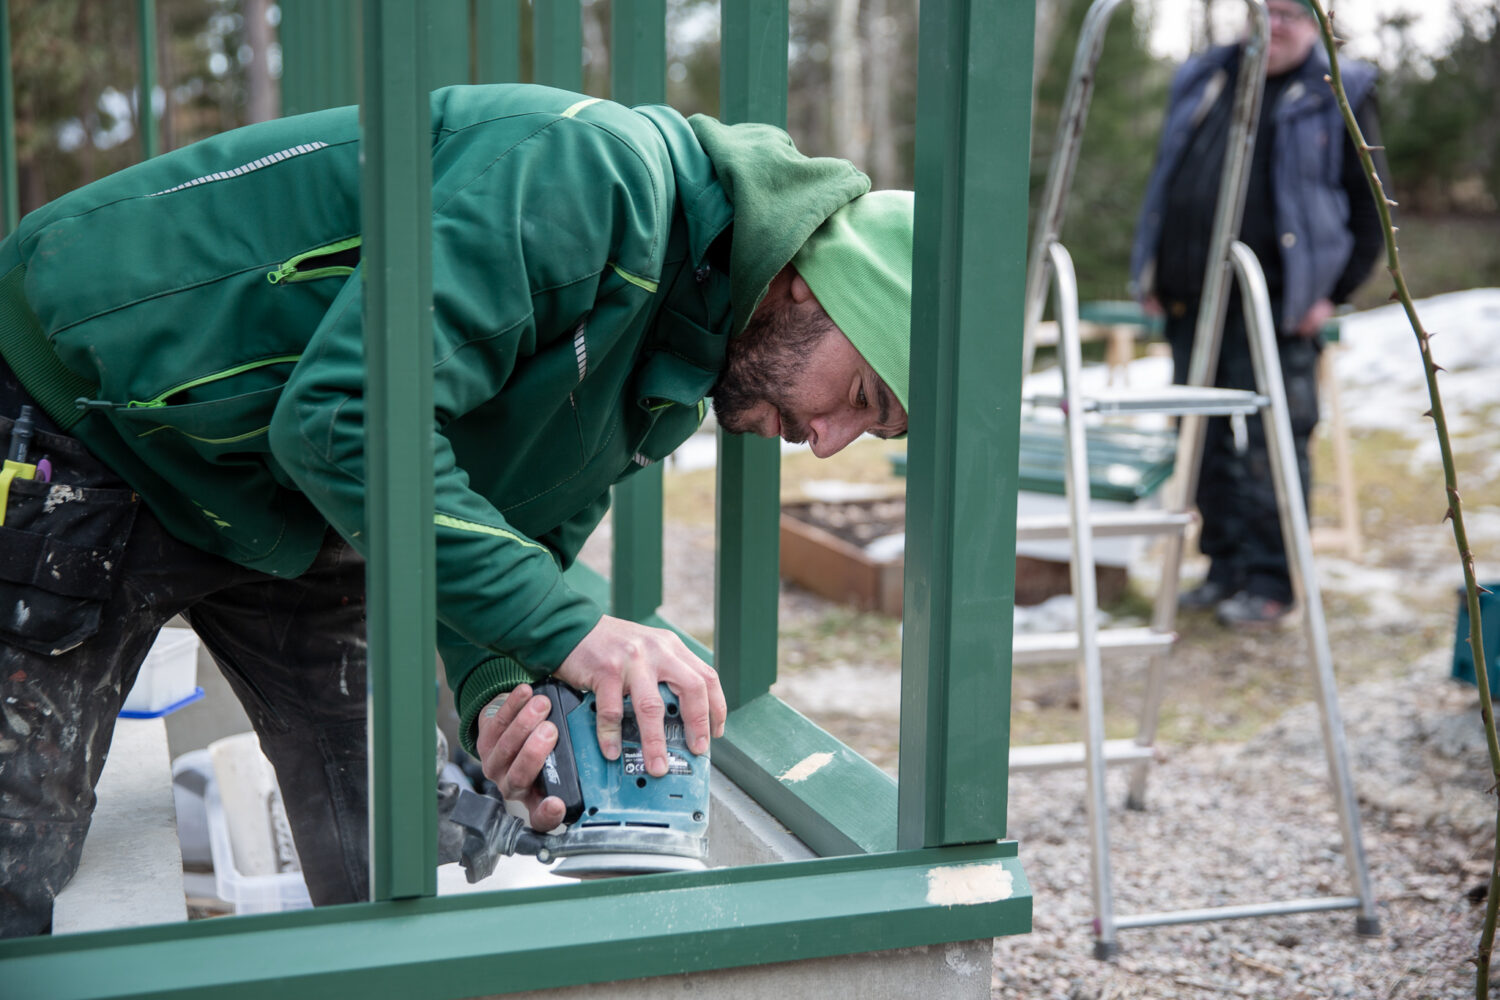
At the same time, the screw holes are filled again and when the filler is dry, it can be sanded so that the surface is smooth. The last thing that is done is that the small filled and sanded parts are painted over in place, so that the entire frame is smooth and nice.
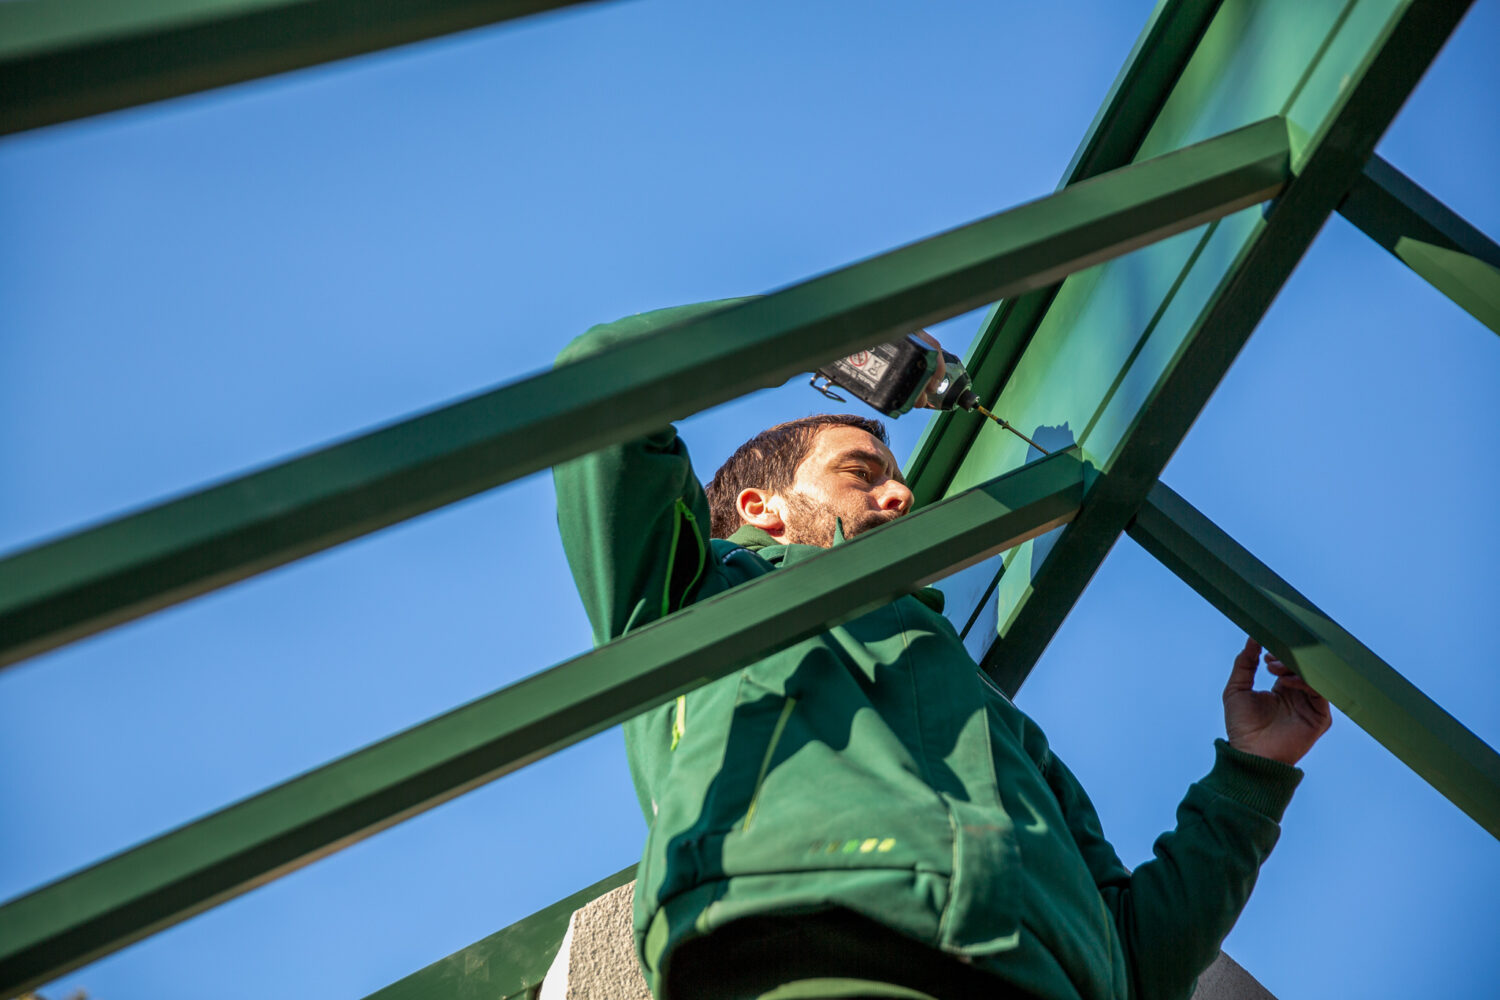
Once the ceiling beam is in place, the ceiling joists can also be screwed in place.
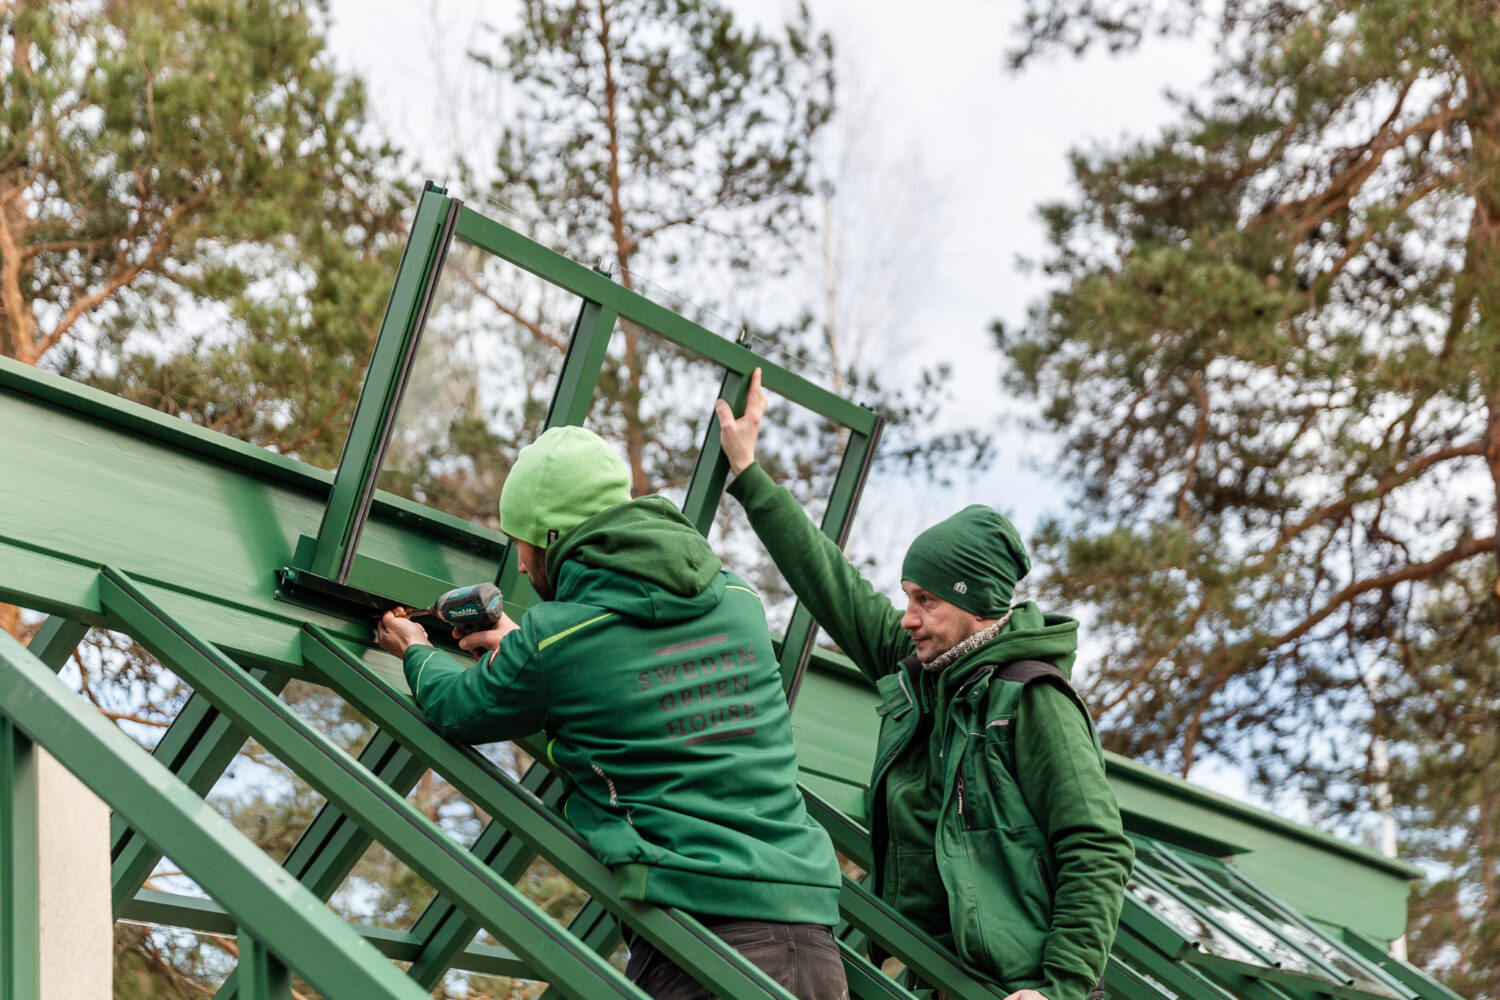
Next, ventilation windows are installed. They are installed fully glazed.
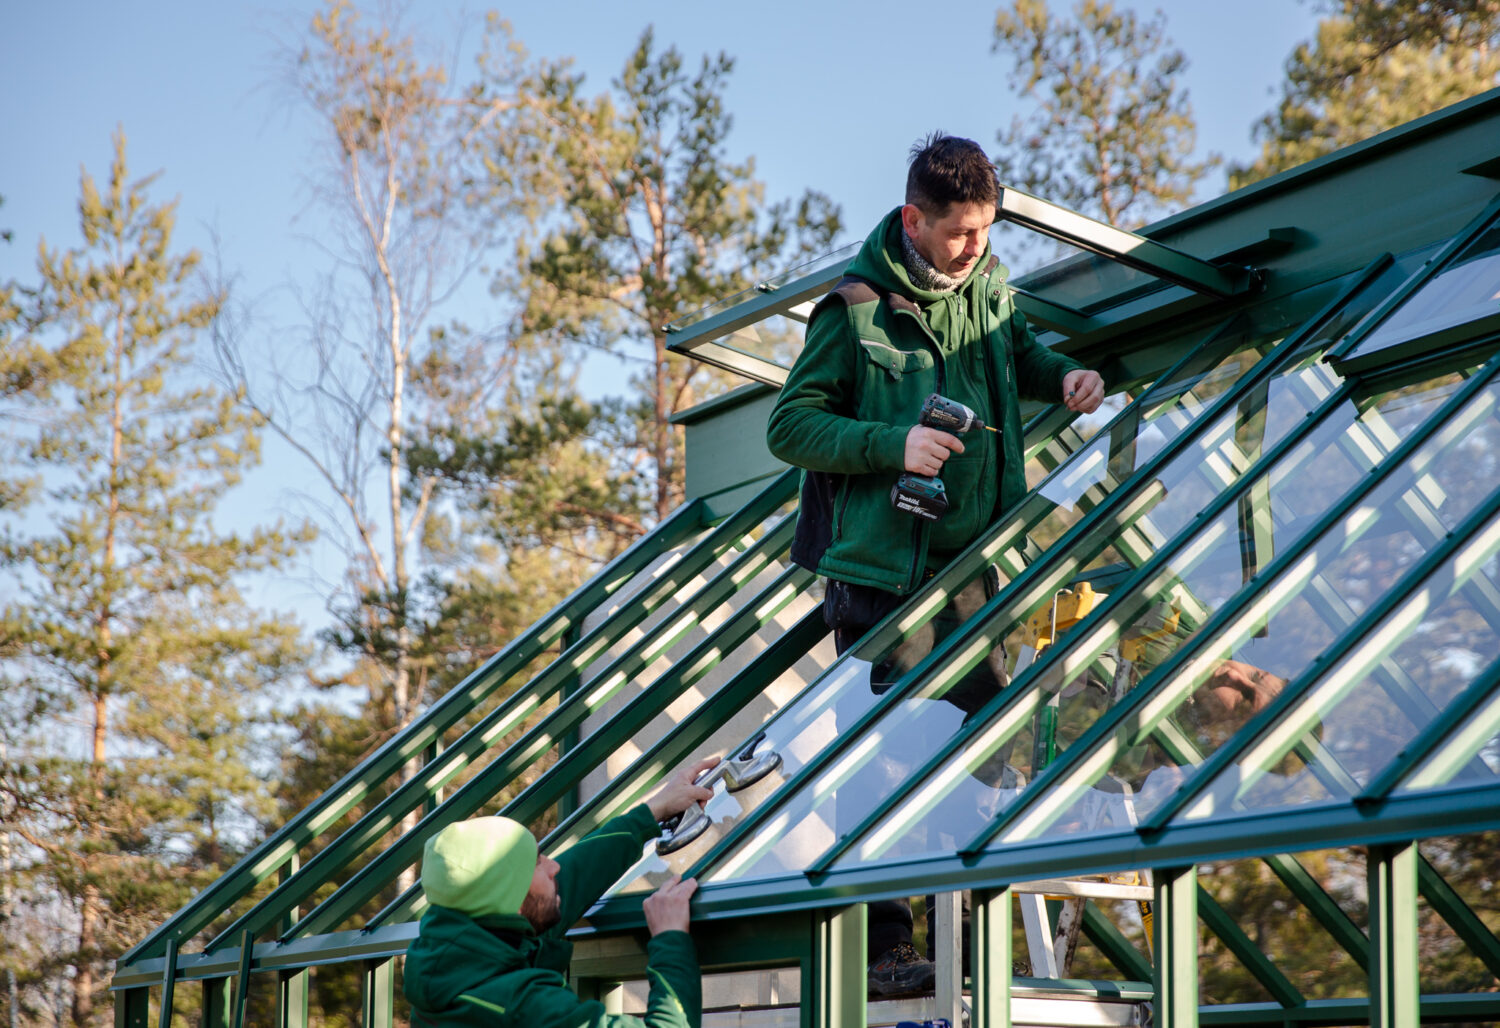
When the entire frame is in place, it is time to install the glass. The glass will make the entire greenhouse more stable and resistant to both strong winds and snow loads. First, the roof glass is installed and secured using steel strips. The steel strips have soft rubber strips that press against the glass, while the strip itself is screwed centrally into the wooden frame.
The side windows in the greenhouse are first attached with pins and then they are puttyed at the edge against the wooden joists. The putty can usually be adapted to the same color as the greenhouse to make everything fit together in the best way.
Perhaps we should say a few more words about the glass. Most people choose to have tempered single glass in their greenhouse, including this customer. In cases where the customer has chosen insulating glass instead, this affects the thickness of the frame and it also means that the glass is attached with steel strips on the sides as well, not just on the roof. The result is that the greenhouse looks a little stronger, as if it has been through a few extra rounds at the gym. But the advantage is that it is possible to keep an insulated greenhouse at a comfortable temperature all year round, which is not to be despised.
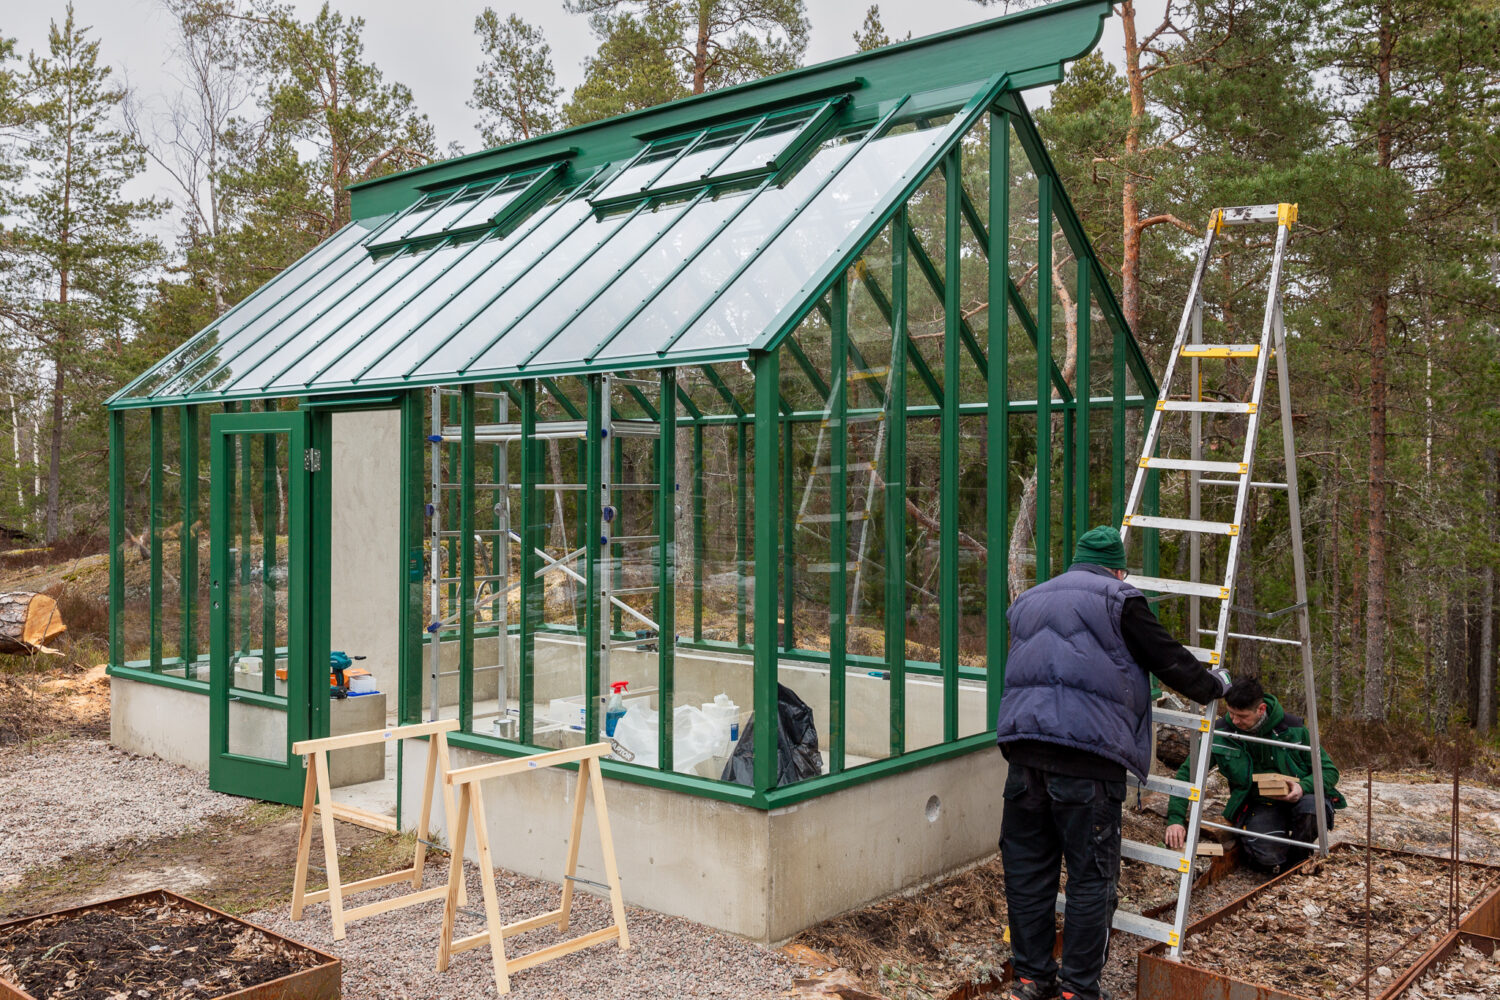
Now all the glass is installed. The door has also been put in place, a simple all-glass door. What was a few days ago a pile of boards and a stack of glass has become a greenhouse dream come true.
What happens now? Yes, now an electrician can do electrical work and a floor layer can lay a floor, all depending on how the customer wants it. Many also choose to lay some kind of floor, but there are also those who grind the raw concrete and leave it as it is. We'll see what happens here. We definitely know that a wood-burning stove will be installed in this greenhouse, we will have reason to come back to that.